Set up Engage
Complete this setup once for every operational environment and platform application.
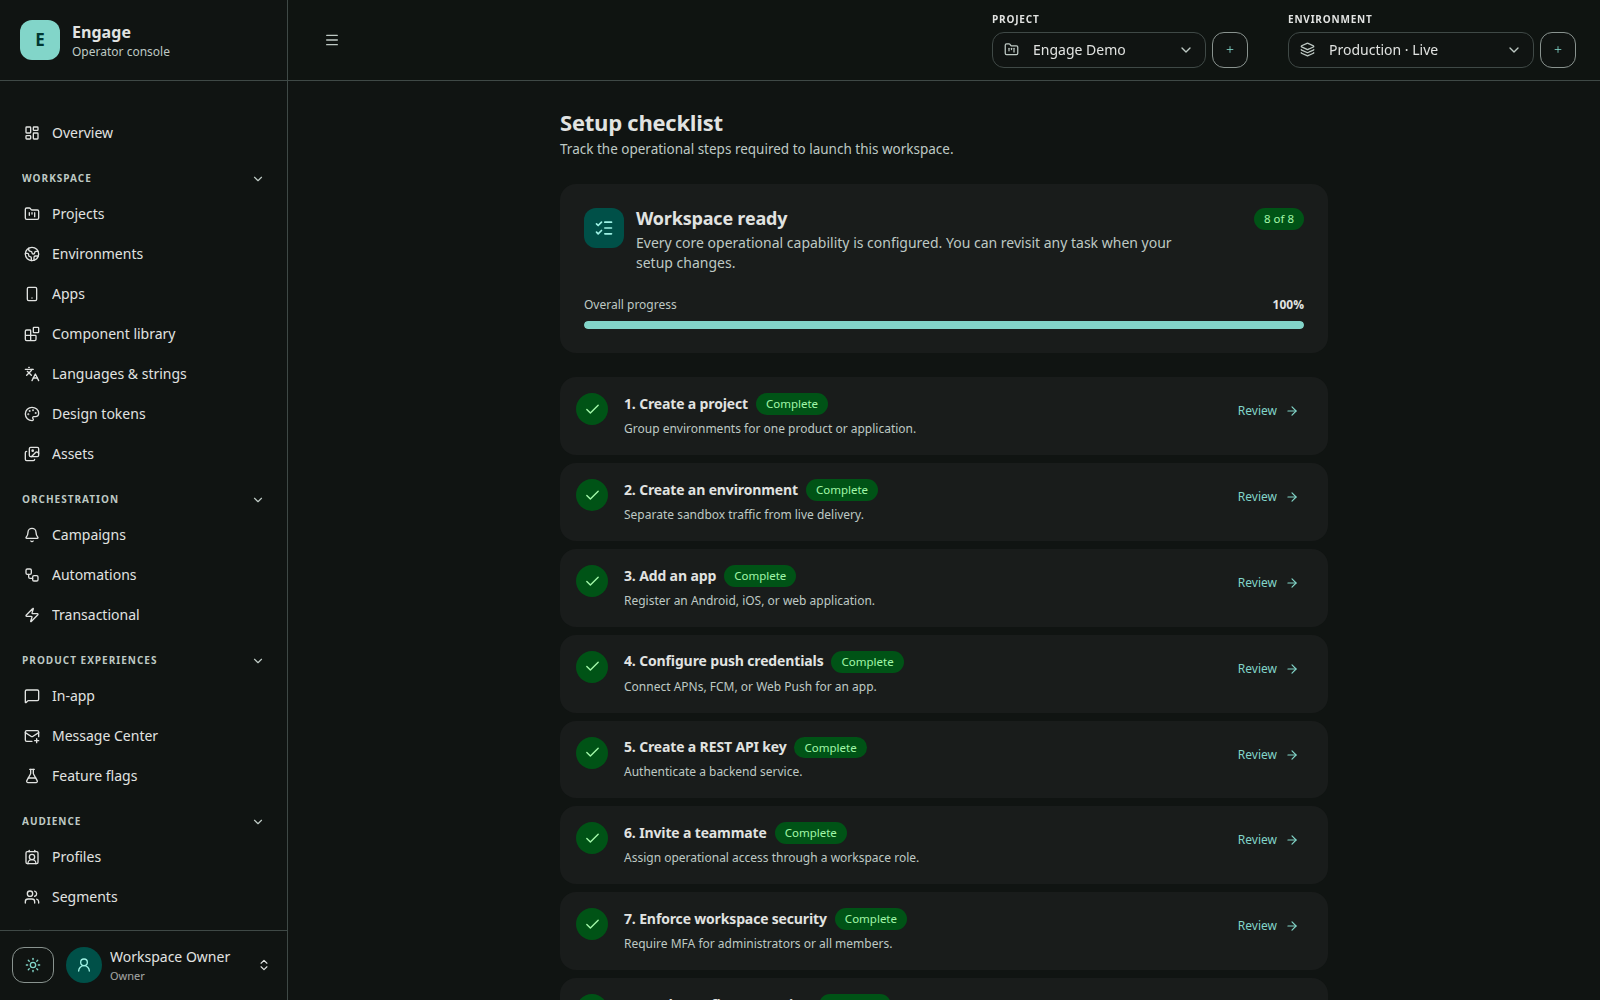
1. Create the environment
Create a project, then add an environment such as Development, Staging, or Production. The environment owns its audience data, content, delivery credentials, API keys, quotas, and analytics.
Use different environments for test and live traffic. Do not point a development build at a production app key.
2. Add platform apps
Inside the environment, create one app per distributed platform identity:
- Android: the application ID/package name;
- iOS: the bundle identifier;
- Web: the registered web application.
The console generates an app key beginning with eng_app_. Copy it from Mobile integration. It is a public bootstrap identifier and may be provided through build configuration.
| Application build | App key |
|---|---|
| Development Android app | eng_app_dev_… |
| Production Android app | eng_app_prod_… |
3. Configure push providers
Push requires provider credentials in Engage:
- Android: Firebase service-account credentials for the Firebase project used by the app;
- iOS: APNs
.p8key, Key ID, Team ID, and the app bundle topic; - Web: Web Push/VAPID configuration.
Provider credentials are secrets. Upload them to Engage; never include them in a mobile app or documentation example. See Push providers.
4. Integrate and start the SDK
Choose Android, Flutter, or iOS. Start the SDK with the app key during application launch. The first successful bootstrap creates an installation.
5. Verify the installation
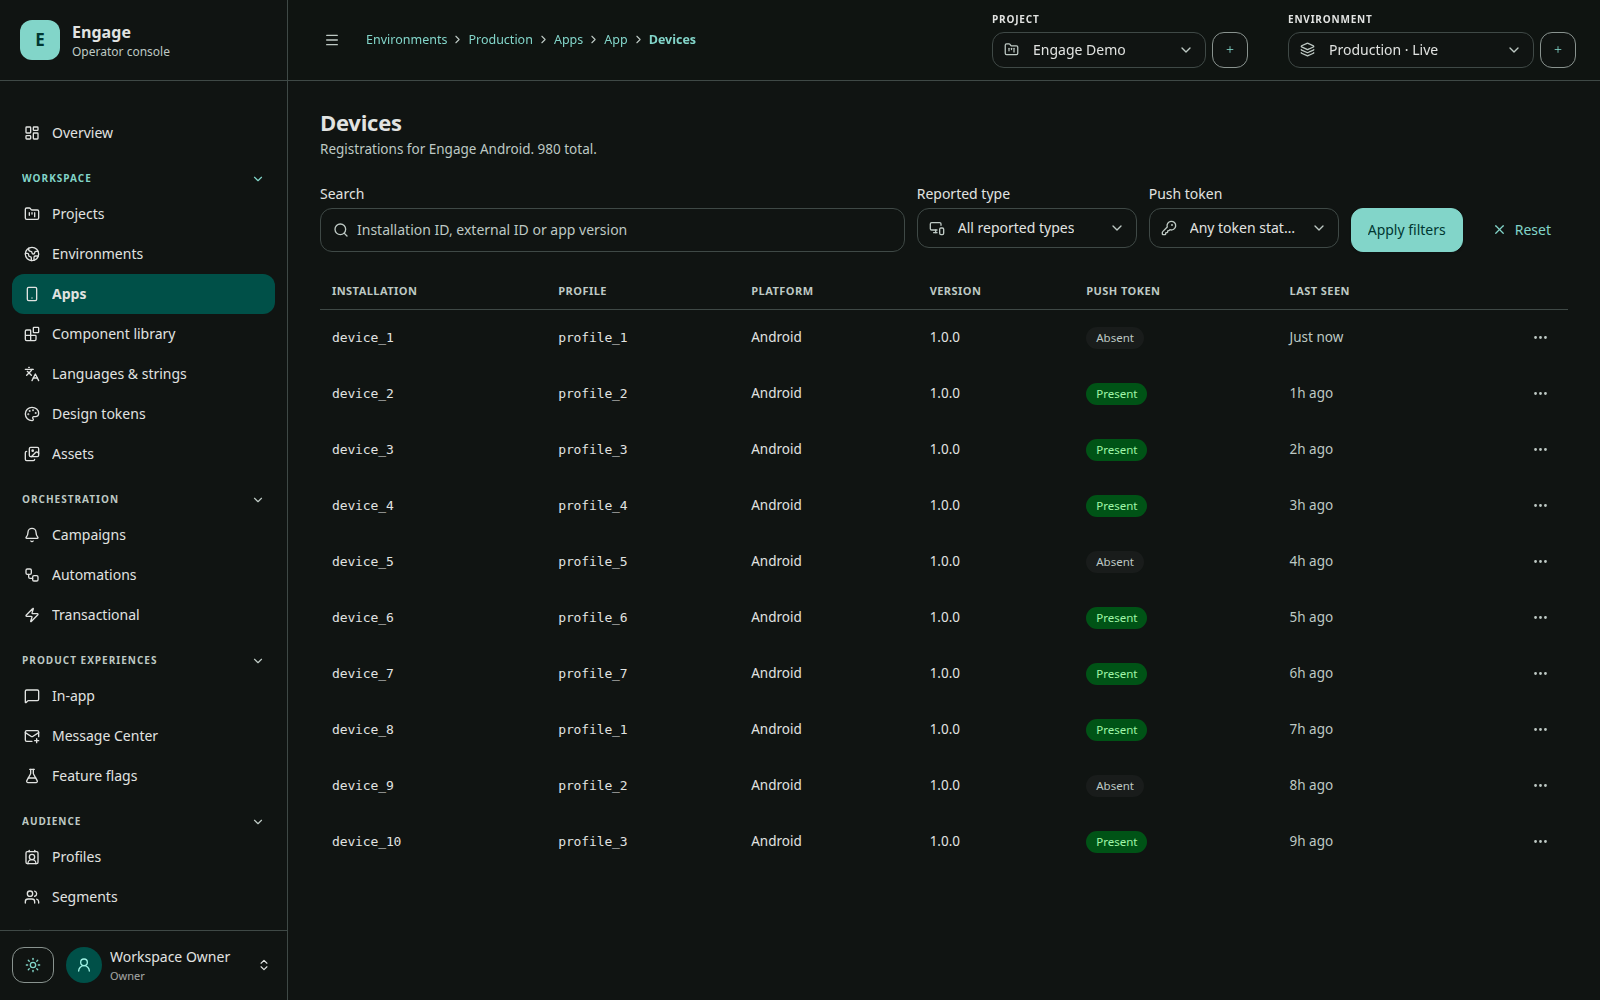
Open the environment’s Devices / installations view and confirm:
- the installation appears under the expected app;
- locale, time zone, app version, device model, and SDK version are populated;
- push token registration becomes ready after provider setup and system permission;
- privacy and subscription states match the application;
- test events appear after tracking one from the app.
For Android and Flutter, push.status exposes permission, Engage subscription, and token registration separately. A granted system permission does not automatically mean the user is opted in to Engage.
6. Create a test group
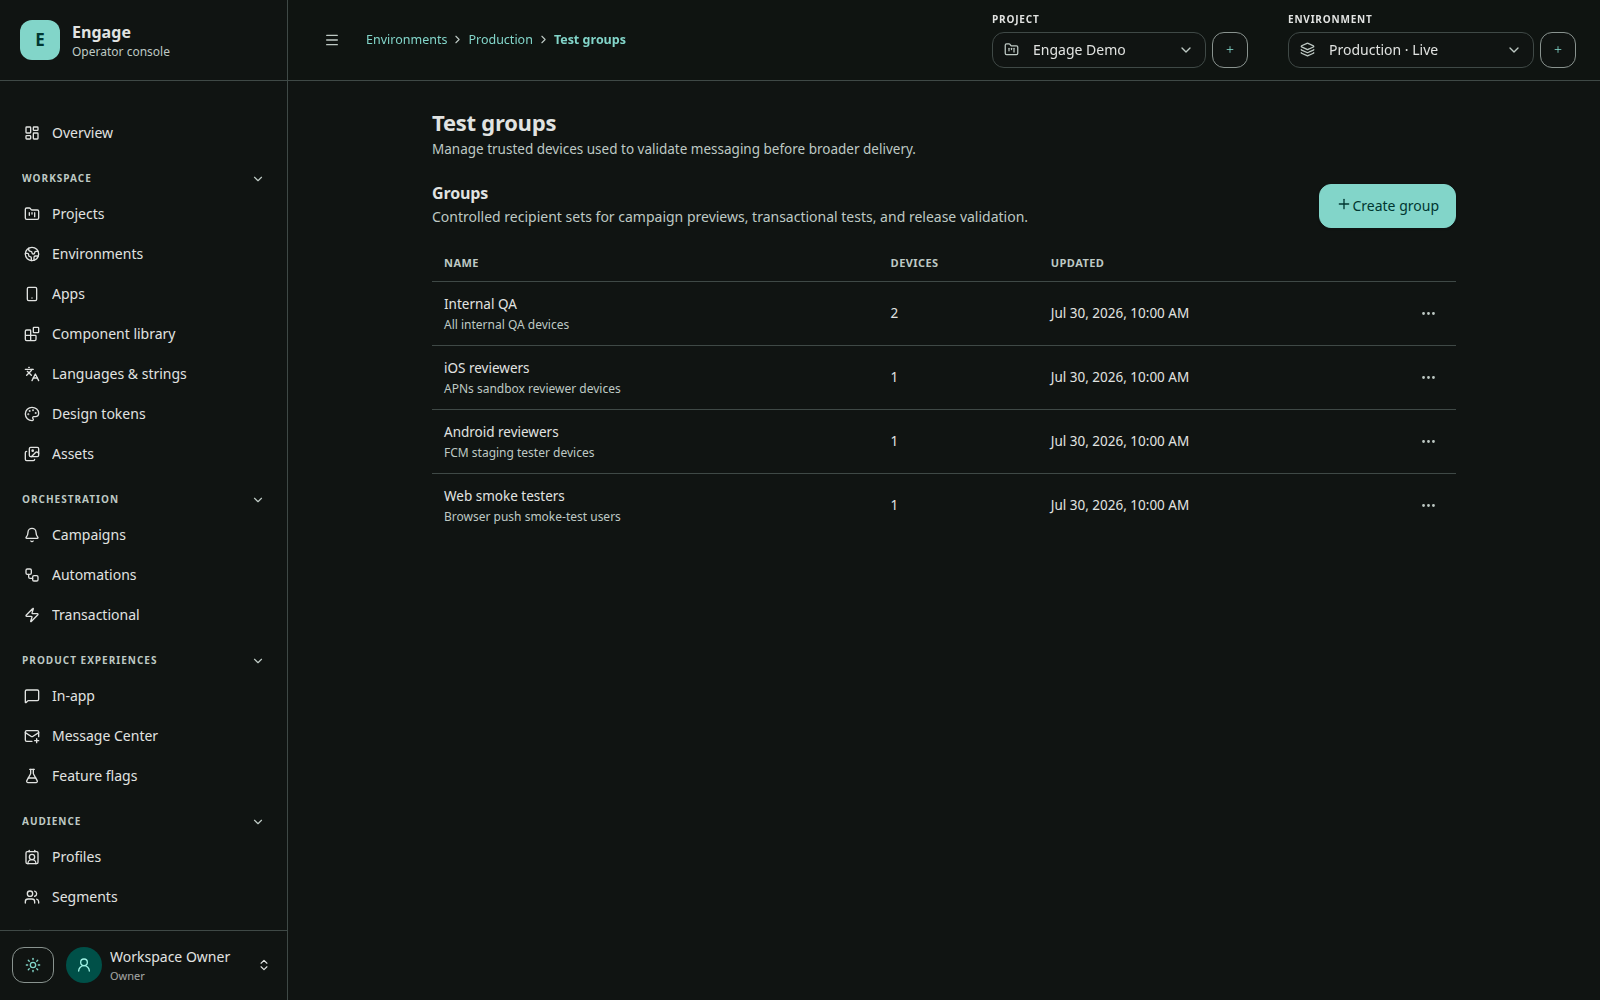
Add the installation or its profile to a test group. Use test groups to preview push and content without broad audience targeting. A production API transactional request cannot target a test group; that recipient type is reserved for backoffice testing.
7. Create a server access key if needed
Create an access key in REST API, scope it to the apps your service may address, and store the engk_… secret immediately. Engage displays the plaintext only once.
Continue with the Server API quickstart if your backend will send transactional messages or bind authenticated users.